Final blog post

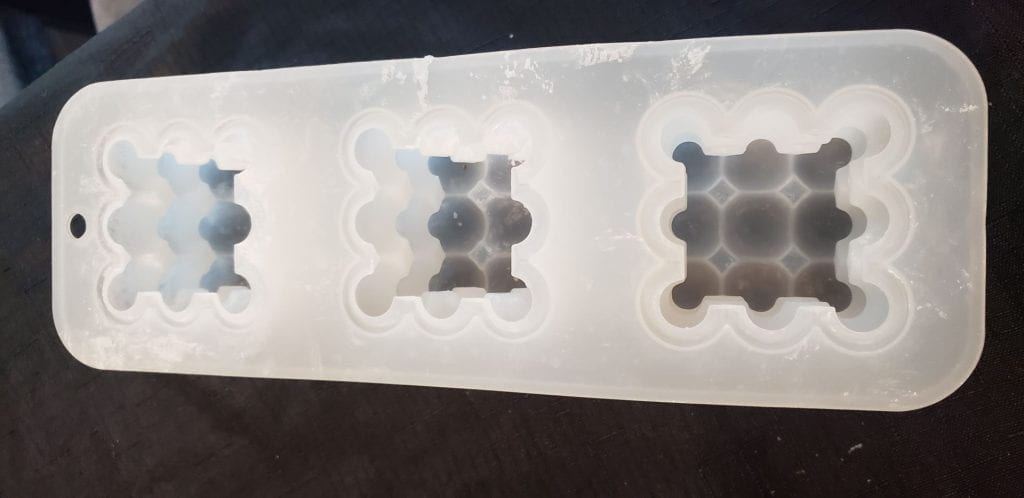
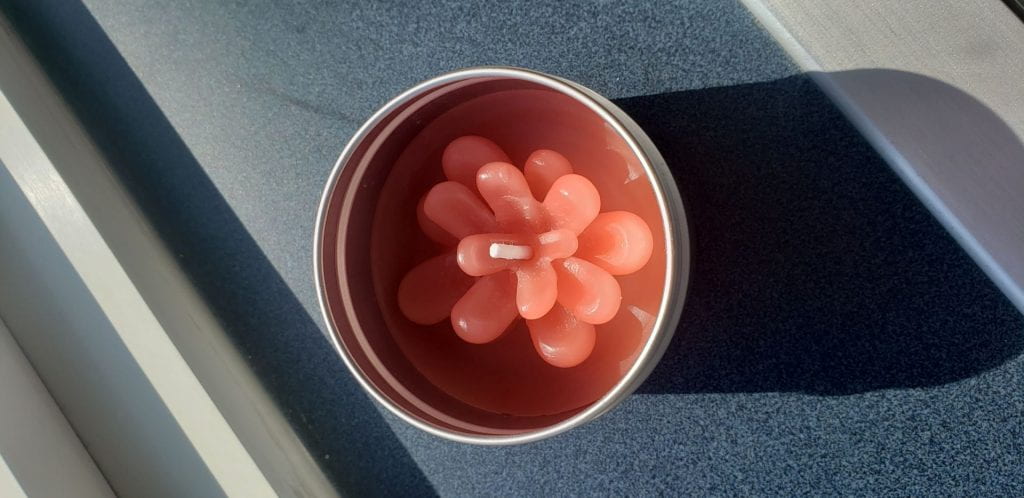
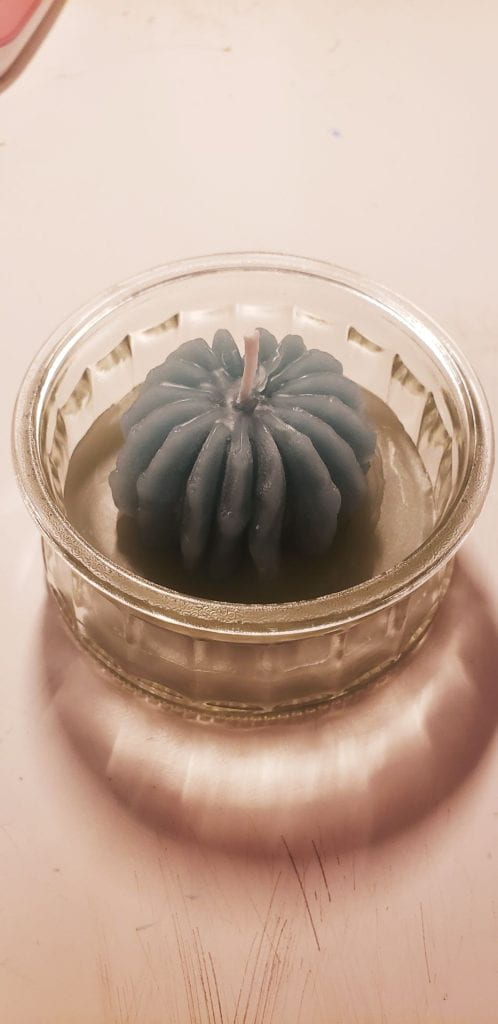
I think this genius hour went very well. I feel like I learned a lot from candle making. I spent a lot of time every week to make candles. For the, I feel I did very well. It took me 4 hours to make all the candles for the my class. I think I will continue too make candles because I still have lots of candle wax left.

Overall, I think this project went very well.

Week 12

This week I have made a video for my presentation. I plan to make a video about how to make a candle. I also started making candles for the class which is taking a very long time. Since I make 3 small candles at a time, the amount of scent has adjusted. I found that the first few I had made were not scented enough so I put a lot more which made it better. One of the other issues I had was the drying of the candles. Most of them wouldn’t dry equallly so parts of the candle looks either darkr or lighter than the original colour. I think I have learned lots about candle making during this project.

Week 11 Presentation Planning

This week I am working on my presentation. I think I should make a video showing how to make candles. I also think I should make small samples for everybody to see if they like my candles or not. I am trying to decide how big of a candle I should make and if I should put it in small containers or just make a big mold. I have about seven pounds of wax left so I think it would be a good idea to make bigger candles in the molds. Although, the candles that are made with molds are hard for me too take out since they keep cracking. I can fix them but it takes double the time so I think I should buy little containers and make the candles in those.

Week 10

This week, I tried my idea from last week which was putting beads with letters on them to make messages when yuo burn it. I had to buy lots of beads and tried it. I had too look up how too attatch the beads to the candle and it said too just heat up the candle’s first layer. When you do this type of candle, you have too make 2 layers. One layer is lower which is the one that has the beads on it and the top layer is the layer that covers the beads until you melt it. I think this looks very good but once I burned it, it looked very cracked. This is what it looked like.

Week 9

This week I tried the other mold I got and it did not turn out well. It had cracked. The mold had many divets and it was very hard to pull it out. This is what the mold looks like.

Since this mold didn’t work, I just made another regular candle with flower decorations this week since I couldn’t succesefully make this candle.

Although I failed in using the mold, I thought about another more challenging thing I could do. So, I thought of putting beads with letters on them to make a message. I haven’t tried it this week but I will try it next week.

Week 8

This week, I tried my new molds for my candles. I tried one of them and it kept breaking. I’m not sure why it kept breaking when I took it out of the mold but I think it’s because I left it cool for too long. I looked up how too take it out of the mold and it said too submerge the mold into boiling water for a short period of time before you take it out too loosen the wax from the silicone. After I took it out, it had broke when I put the Wick into the mold but I melted it back together which took forever. I heated up the side too stick on some gold flakes too make it look more aesthetically pleasing. This is how it turned out.

Week 7

This week I tried all the tips that my expert gave me. I think most of them worked, but I didn’t see a big difference when I tried to poke holes into the candle before I add the next layer. I didn’t really see a difference but it’s supposed to get rid of air bubbles and so I think I will continue too do it.

I also bought more molds to make different shapes and I will try them next week.

Week 6-My progress

I have been trying to find an expert for my candle making. Her name is Sarah and she told me some tips. She told me that the candle wick size matters. When I make candles with bigger containers, it doesn’t burn the sides along with the middle. She told me that there are different thicknesses of the wick. She also told me about different waxes and the advantages and disadvantages of waxes. She told me that the wax that I am using is good for longer lasting candles and it’s better for the enviroment. She also told me another trick to get rid of air bubbles which is poking the candle. She told me that I should poke a whole in the candle while making it with a skewer to make holes that are called relif holes.

I asked her how to smooth the top of the candle without burning the wick and she said to use a hair dryer which is a very helpful tip.

I made one candle this week and I think it turned out better.

Week 5

This week I gave some candles too people. They burned the candle most of them said that the smell wasn’t enough. I think its beacuse the type of candles I make are very small and the smell doesn’t go all around the room.

Week 4

This week I have made more candles. I made a mold of a cactus to put on top of the candle as decoration. Since you have to poke a hole into the mold to stick it onto the wick, I didn’t let it dry and dropped wax onto my counter. I let it waited for it to dry which was not a good idea. It ended up sticking to the counter and making a horrible looking stain. I looked up how to get rid of it and all you needed was dish soap and water.

I also want to change my end goal. I want to put a message inside of the candle so when you burn the candle you can see it. I am not going to start making messages inside the candle yet but I will eventually get to it.

This is the candle I made this week.

Skip to toolbar